本文实例讲述了Django开发的简易留言板。分享给大家供大家参考,具体如下:
Django在线留言板小练习
环境
ubuntu16.04 + python3 + django1.11
1、创建项目
django-admin.py startproject message
进入项目message
2、创建APP
python manager.py startapp guestbook
项目结构
. ├── guestbook │ ├── admin.py │ ├── apps.py │ ├── __init__.py │ ├── migrations │ │ └── __init__.py │ ├── models.py │ ├── tests.py │ └── views.py ├── manage.py └── message ├── __init__.py ├── __pycache__ │ ├── __init__.cpython-35.pyc │ └── settings.cpython-35.pyc ├── settings.py ├── urls.py └── wsgi.py
4 directories, 14 files
需要做的事:
配置项目setting 、初始化数据库、配置url 、编写views 、创建HTML文件
项目配置
打开message/settings.py
设置哪些主机可以访问,*代表所有主机
ALLOWED_HOSTS = ["*"]
INSTALLED_APPS = [
 'django.contrib.admin',
 'django.contrib.auth',
 'django.contrib.contenttypes',
 'django.contrib.sessions',
 'django.contrib.messages',
 'django.contrib.staticfiles',
 'guestbook', #刚刚创建的APP,加入到此项目中
]
#数据库默认用sqlite3,后期可以换成MySQL或者SQL Server等
TIME_ZONE = 'PRC' #时区设置为中国
创建数据库字段
#encoding: utf-8
from django.db import models
class Message(models.Model):
 username=models.CharField(max_length=256)
 title=models.CharField(max_length=512)
 content=models.TextField(max_length=256)
 publish=models.DateTimeField()
 #为了显示
 def __str__(self):
 tpl = '<Message:[username={username}, title={title}, content={content}, publish={publish}]>'
 return tpl.format(username=self.username, title=self.title, content=self.content, publish=self.publish)
初始化数据库
# 1. 创建更改的文件
root@python:/online/message# python3 manage.py makemigrations
Migrations for 'guestbook':
 guestbook/migrations/0001_initial.py
 - Create model Message
# 2. 将生成的py文件应用到数据库
root@python:/online/message# python3 manage.py migrate
Operations to perform:
 Apply all migrations: admin, auth, contenttypes, guestbook, sessions
Running migrations:
 Applying contenttypes.0001_initial... OK
 Applying auth.0001_initial... OK
 Applying admin.0001_initial... OK
 Applying admin.0002_logentry_remove_auto_add... OK
 Applying contenttypes.0002_remove_content_type_name... OK
 Applying auth.0002_alter_permission_name_max_length... OK
 Applying auth.0003_alter_user_email_max_length... OK
 Applying auth.0004_alter_user_username_opts... OK
 Applying auth.0005_alter_user_last_login_null... OK
 Applying auth.0006_require_contenttypes_0002... OK
 Applying auth.0007_alter_validators_add_error_messages... OK
 Applying auth.0008_alter_user_username_max_length... OK
 Applying guestbook.0001_initial... OK
 Applying sessions.0001_initial... OK
配置url
设置项目message/urls.py
from django.conf.urls import url,include #添加了include
from django.contrib import admin
urlpatterns = [
 url(r'^admin/', admin.site.urls),
 url(r'^guestbook/', include('guestbook.urls',namespace='guestbook')), #表示在url地址中所有guestbook的都交给guestbook下面的url来处理,后面的逗号不要省略
]
设置APP的url
如果是初次创建APP,urls.py在APP中一般不存在,创建即可
vim guestbook/urls.py
# 内容如下
from django.conf.urls import url
from . import views
urlpatterns = [
 url(r'^index/',views.index,name='index'), #不要忘了逗号
]
编写views
编辑APP中的views.py
from django.shortcuts import render
from django.http import HttpResponseRedirect
from . import models
# Create your views here.
def index(request):
 messages = models.Message.objects.all()
 return render(request, 'guestbook/index.html', {'messages' : messages})
编写HTML文件
创建APP/templates/guestbook/index.html目录及文件
使用bootstrap美化了
<!DOCTYPE html>
<html>
 <head>
 <meta charset="utf-8" />
 <title>留言板</title>
 <link rel="stylesheet" href="https://cdn.bootcss.com/bootstrap/3.3.7/css/bootstrap.min.css" rel="external nofollow" rel="external nofollow" crossorigin="anonymous">
 </head>
 <body>
 <table class="table table-striped table-bordered table-hover table-condensed">
 <thead>
 <tr class="danger">
 <th>留言时间</th>
 <th>留言者</th>
 <th>标题</th>
 <th>内容</th>
 </tr>
 </thead>
 <tbody>
 {% if messages %}
 {% for message in messages %}
 <tr class="{% cycle 'active' 'success' 'warning' 'info' %}">
 <td>{{ message.publish|date:'Y-m-d H:i:s' }}</td>
 <td>{{ message.username }}</td>
 <td>{{ message.title }}</td>
 <td>{{ message.content }}</td>
 </tr>
 {% endfor %}
 {% else %}
 <tr>
 <td colspan="4">无数据</td>
 </tr>
 {% endif %}
 </tbody>
 </table>
 <a class="btn btn-xs btn-info" href="/guestbook/create/" rel="external nofollow" >去留言</a>
 </body>
</html>
调试index页面
python manage.py runserver 0.0.0.0:99
打开浏览器访问http://开发机器ip地址:99/guestbook/index/
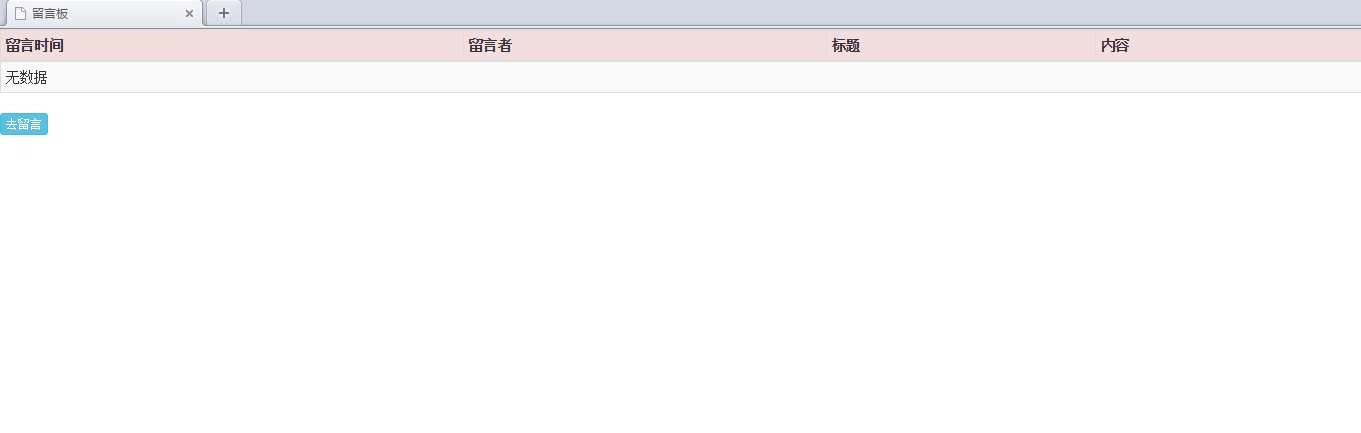
留言展示页面成功
创建留言页面
<!DOCTYPE html>
<html>
 <head>
 <meta charset="utf-8" />
 <title>留言</title>
 <link rel="stylesheet" href="https://cdn.bootcss.com/bootstrap/3.3.7/css/bootstrap.min.css" rel="external nofollow" rel="external nofollow" crossorigin="anonymous">
 </head>
 <body>
 <!-- 我是注释 -->
 <h3>留言</h3> <!--h1-> h6-->
 <!--method: POST /GET -->
 <form action="/guestbook/save/" method="POST" novalidate="novalidate">
 {% csrf_token %}
 <table class="table table-striped table-bordered table-hover table-condensed">
 <label>用户名:</label> <input type="text" name="username" placeholder="用户名" /> <br /><br />
 <label>标 题:</label> <input type="text" name="title" placeholder="标题" /><br /><br />
 <label>内 容:</label> <textarea name="content" placeholder="内容"> </textarea><br /><br />
 </table>
 <input class="btn btn-success" type="submit" value="留言"/>
 </form>
 </body>
</html>
配置APP下的url
vim guestbook/urls.py
urlpatterns = [
 url(r'^index/',views.index,name='index'), #不要忘了逗号
 url(r'^create/$', views.create, name='create'),
 url(r'^save/$', views.save, name='save'),
]
编辑views.py
#先导入时间模块
import datetime
#添加create、save
def create(request):
 return render(request, 'guestbook/create.html')
def save(request):
 username = request.POST.get("username")
 title = request.POST.get("title")
 content = request.POST.get("content")
 publish = datetime.datetime.now().strftime("%Y-%m-%d %H:%M:%S")
 message = models.Message(title=title, content=content, username=username, publish=publish)
 message.save()
 return HttpResponseRedirect('/guestbook/index/')
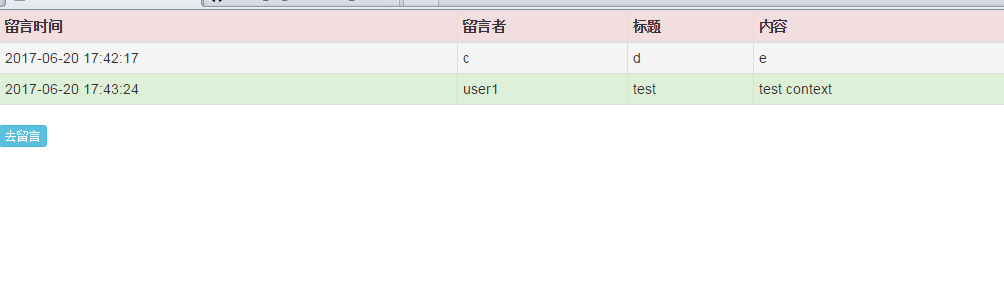
OK,再次运行,enjoy it!
希望本文所述对大家基于Django框架的Python程序设计有所帮助。